This guide goes through all the basic steps that are needed to get AutoPatcher ready and patching your machines.
📄Step 1 - Get access to AutoPatcher
Use the AutoPatcher User Interface.
Here is how to set up the access and permissions.
💻Step 2 - Set up SSM on target machines and target accounts
AutoPatcher uses AWS SSM to access machines which are going to be patched. To make a machine accessible for AutoPatcher via SSM you need to install an SSM agent on the machine. Read more
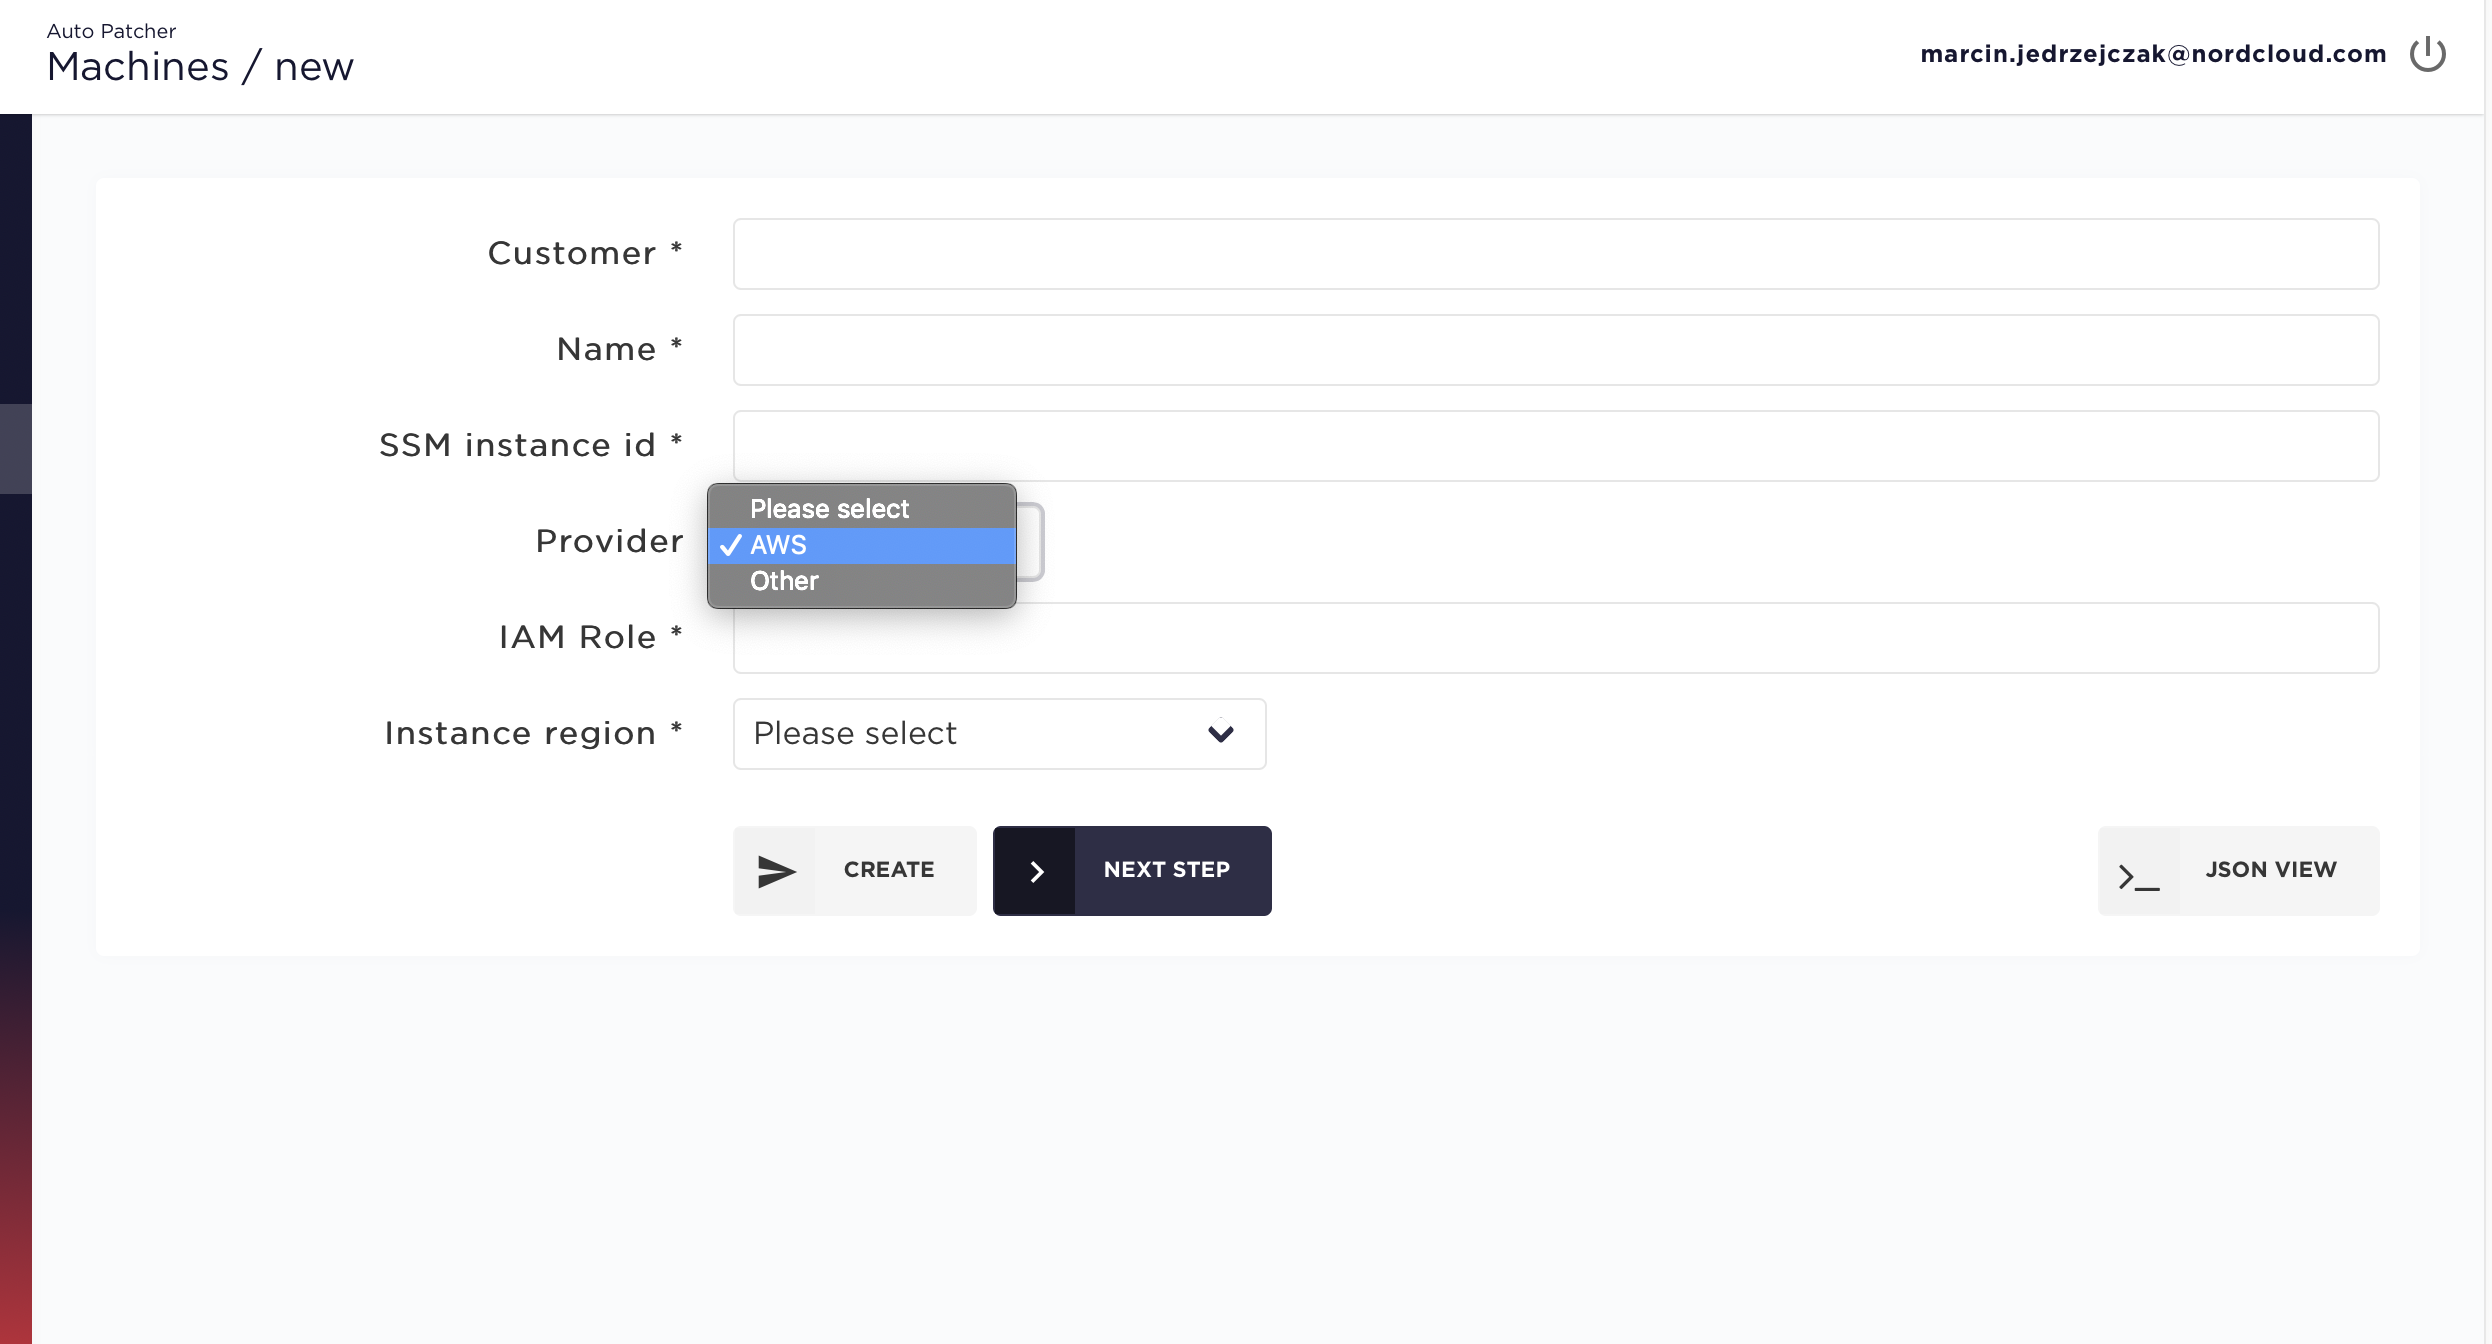
💻Step 3 - Add machines to Auto Patcher
A machine in AutoPatcher describes not just a machine, but also a set of parameters required to patch the machine, like what type of OS it runs, what category of patches are required and how can AutoPatcher access the machine. Read more

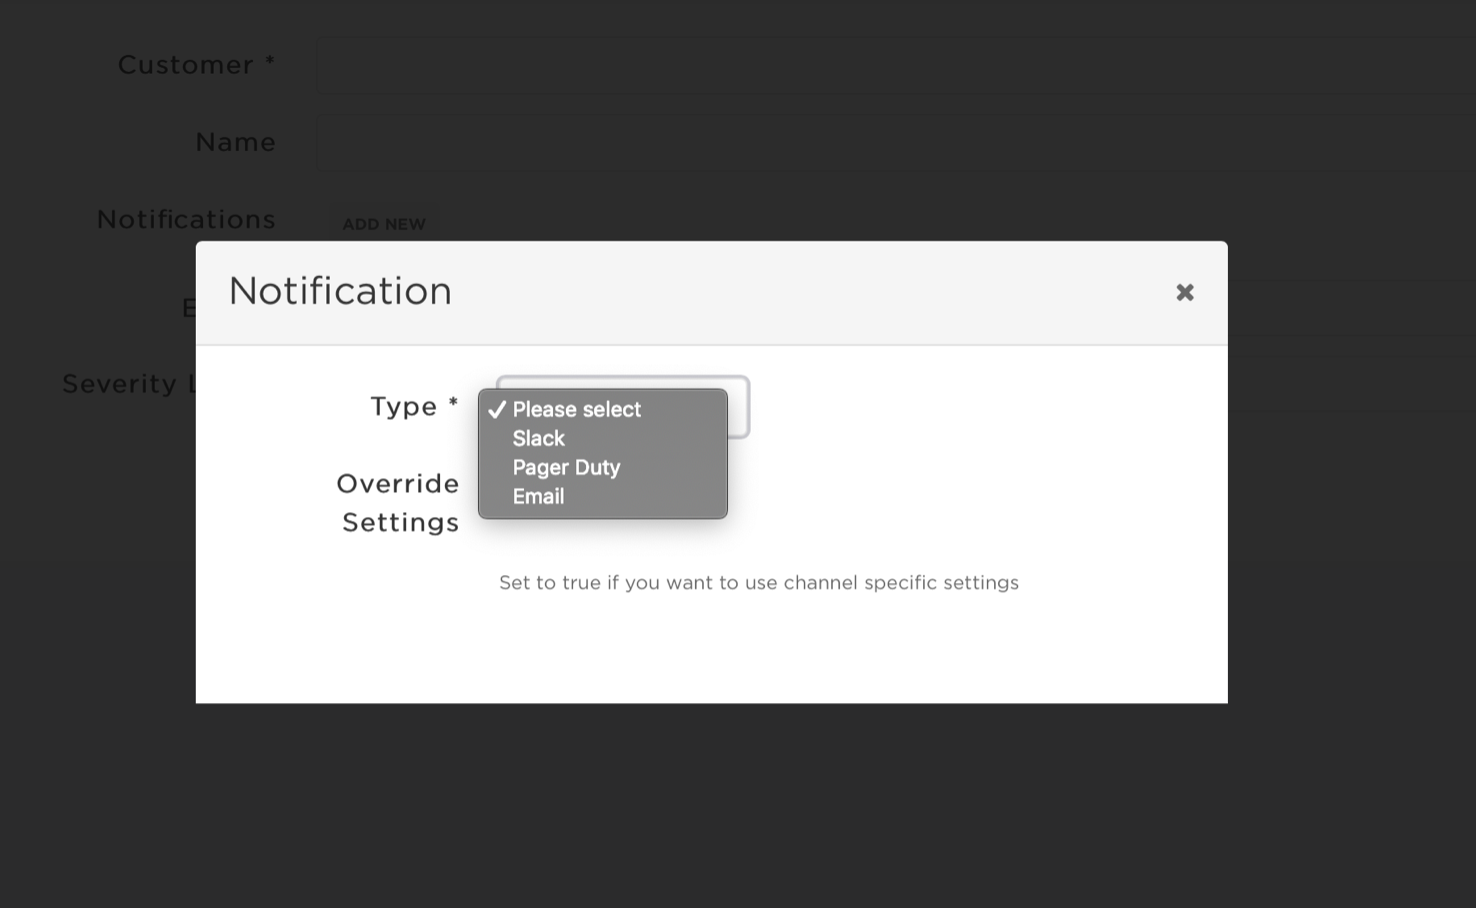
🛎 Step 4 - Set up notification
Configure notifications for your patching and stay up to date about patching status or action to be taken in your channel: (slack, pager duty, email). Read more

⚡️Step 5 - (Optional) add Pre & Post Patching actions - Hooks
If you need to execute some actions before or/and after update you can use Pre&Post Actions Auto-Patcher feature. It allows you to specify list of AWS Lambda ARNs or Azure Functions which should be executed before or/and after update. Read more
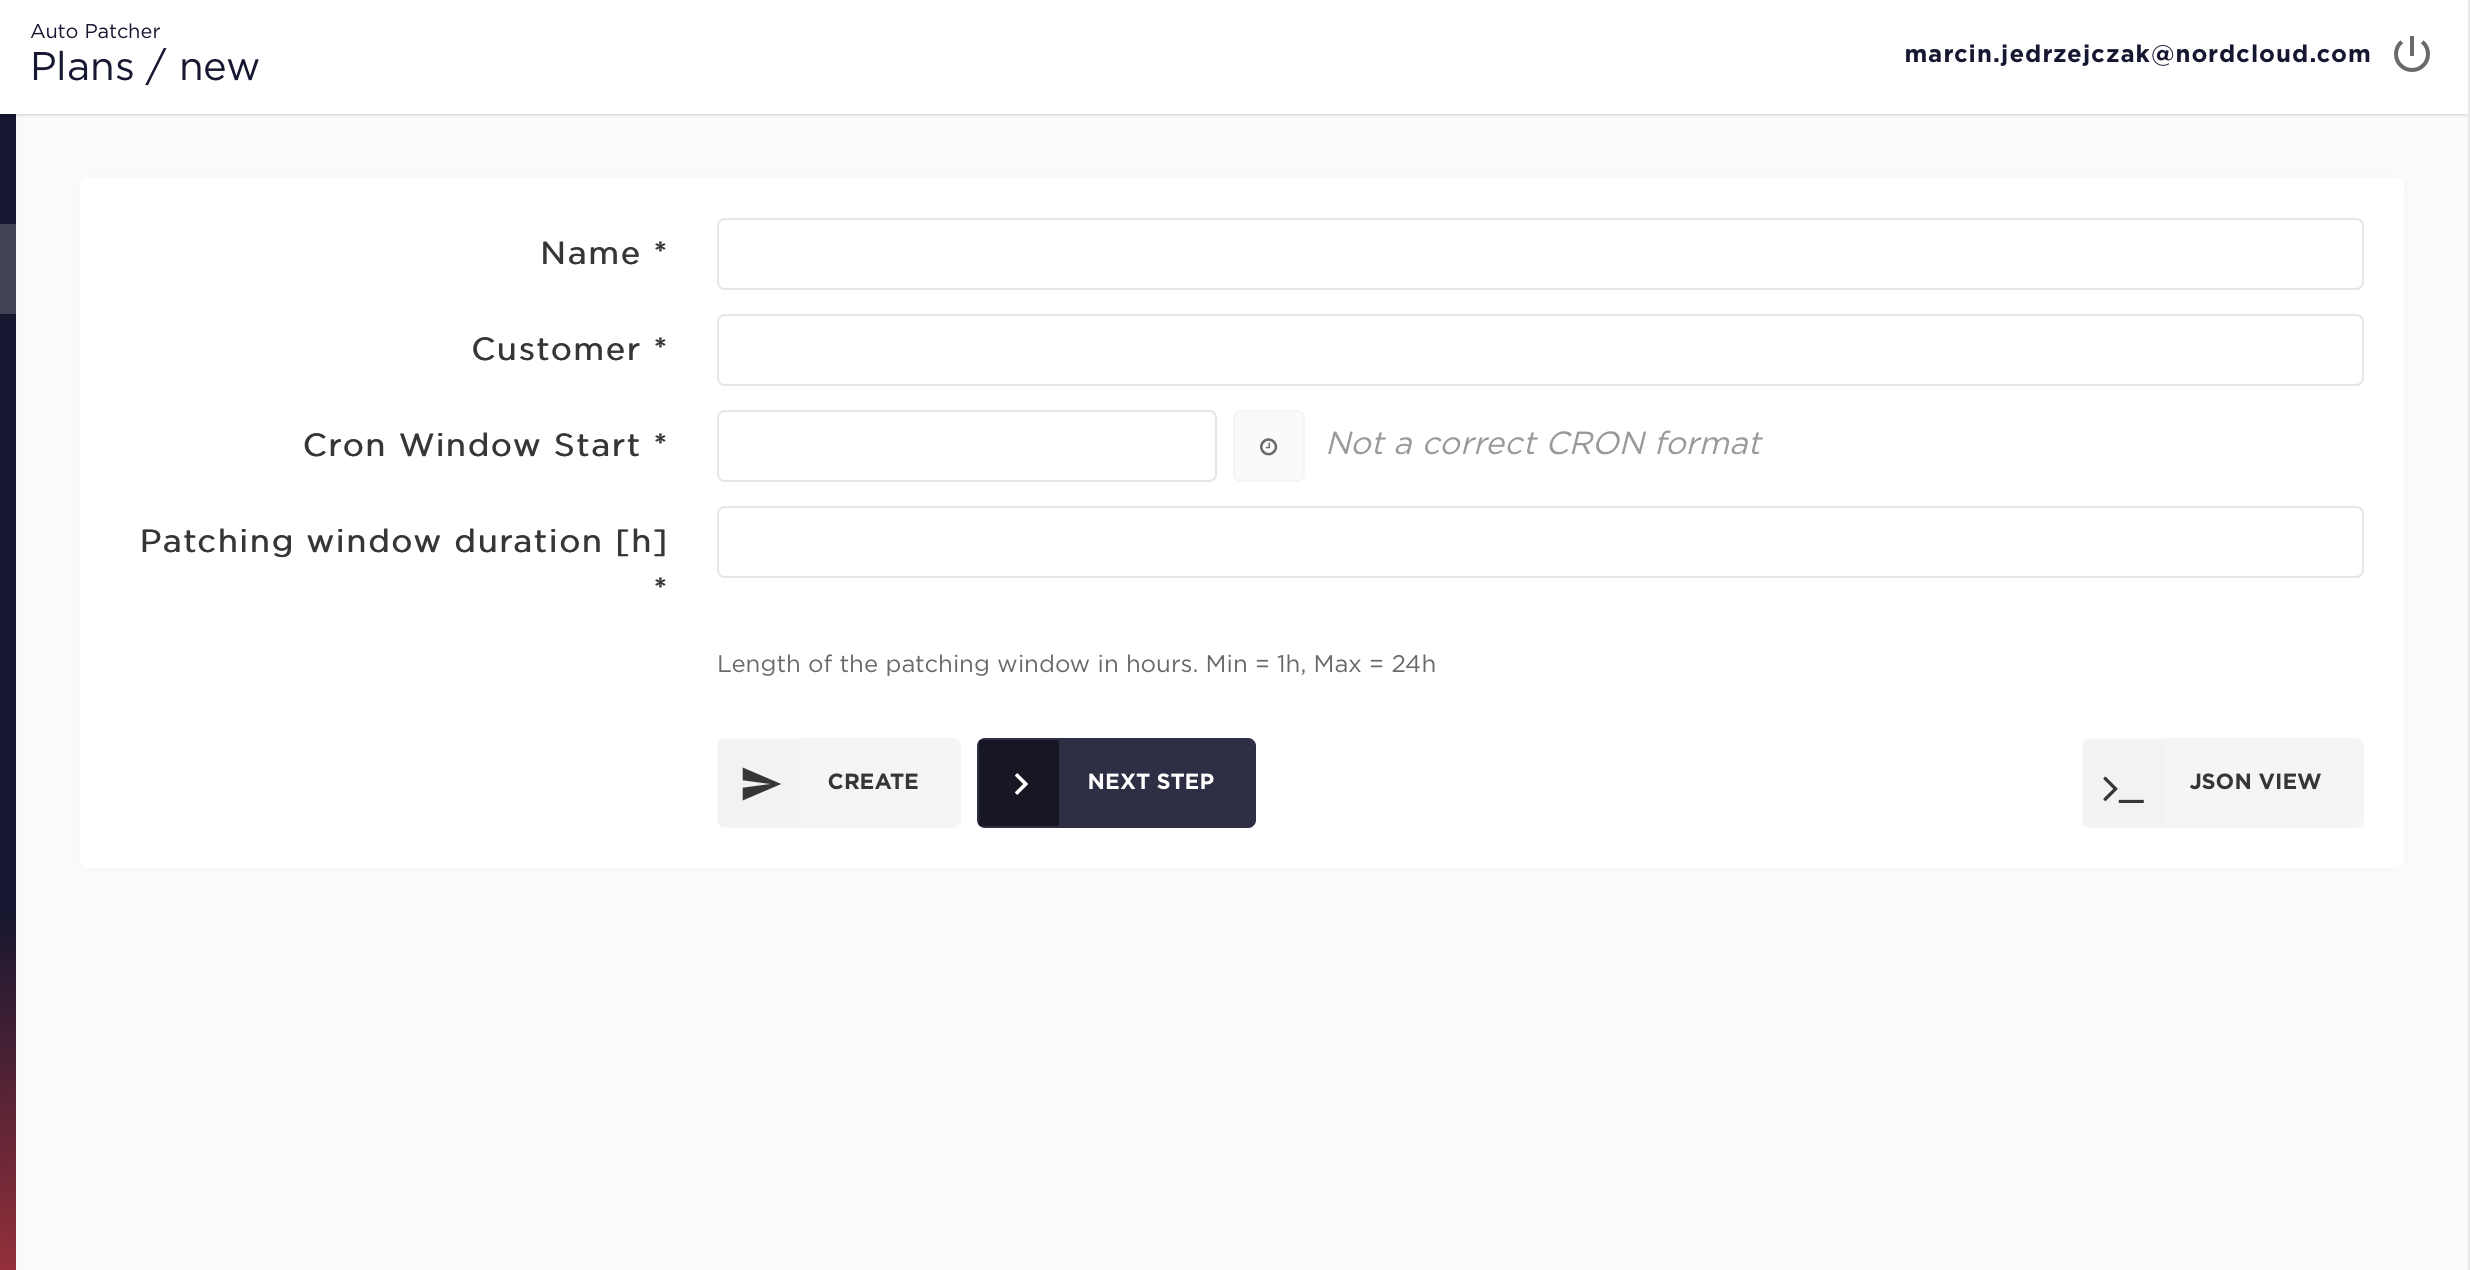
📄 Step 6 - Schedule a patching plan
AutoPatcher has it's own scheduler implemented. Choose the best scheduling way for your need and automate patching. Read more

📅Step 7 - Patching Report
For each patching event there is a possibility to see a report of what packages were installed, updated or removed on each machine during execution of the event. Read more